Skip to content
Beyond Traditional Math
Arkansas
Blog
STORE
Contact
Work with me
problem solving
November 5, 2013
When Differentiation Feels Impossible
October 27, 2013
Problem Solvers Aren’t Born, They Are MADE
October 13, 2013
Just Make it Real World
October 3, 2013
Purposeful Play: Explore Concepts Before You Name Them
September 28, 2013
Reinforce Concepts With FREE Games From Room Recess
September 14, 2013
Making Learning Targets More Meaningful
September 13, 2013
Manipulatives Aren’t Just for Kindergarteners
September 9, 2013
3 Step Process to Strengthen Problem Solving in the Elementary Classroom
September 7, 2013
Two Projects That Created Authentic Dialogue About Work Habits
September 2, 2013
3 Tips For New Teachers to Create an Optimal Math Environment
August 26, 2013
You Hate Math? Let’s Fix That
August 25, 2013
Don’t Be Scared of Those Math Practice Standards!
August 21, 2013
A Project On The First Day Of School? You Aren’t Crazy
August 20, 2013
Anchor Charts = Google for Kids
August 18, 2013
Their Formative Assessment = Your Anchor Chart
August 17, 2013
Problem Solving Boredom: Motivate Them With Real Life FUN
August 16, 2013
Use Open Ended Math Problems to Raise Rigor in the Classroom
August 15, 2013
What Math Project Work Should Look Like
August 14, 2013
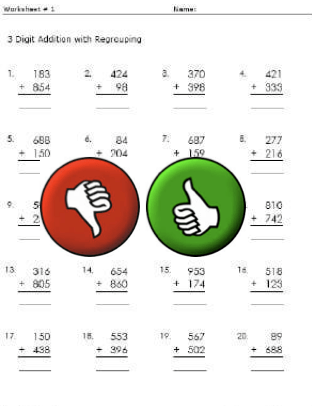
Worksheets Aren’t ALL Bad: 5 Tips for Improving Their Practice
August 13, 2013
Let Them Struggle: Raise The Bar In Elementary Mathematics
August 9, 2013
Raising Rigor for the Smarter Balanced Assessment
August 7, 2013
The Float Challenge
August 6, 2013
The Trouble With Learning Math Facts
August 3, 2013
REAL Problem Solving at the Elementary Level
←
Previous Page
Subscribe
Subscribed
Beyond Traditional Math
Join 875 other subscribers
Sign me up
Already have a WordPress.com account?
Log in now.
Beyond Traditional Math
Subscribe
Subscribed
Sign up
Log in
Report this content
View site in Reader
Manage subscriptions
Collapse this bar