What I do
Real-world math tools for inspired teaching
Hi, I’m Jen, a partner to math teachers and school leaders that want to level up the way students learn and comprehend math. I have an extra special passion for math fact fluency.
With 11+ years experience as an Elementary Math Coach, I help school-age children develop a deep and conceptual understanding of math through real-world scenarios and strategic problem solving.
Connect with me:
Services
Help your students master math facts with Fact Fluency First

All-in-one solution for classroom teachers
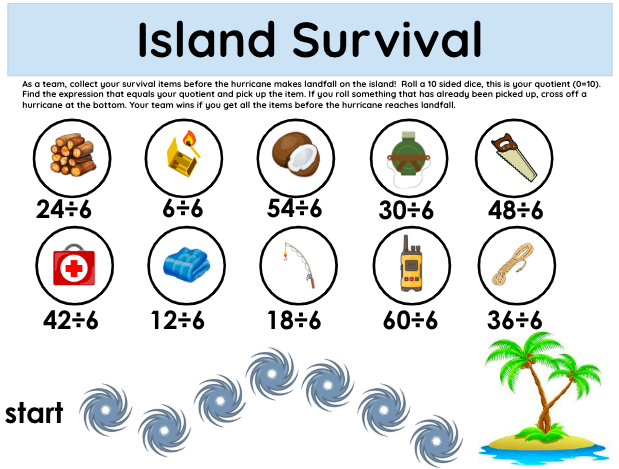
- Engaging printable games for your grade level with video tutorials for students
- Month by month pacing guide for your grade level
- Assessments that help you gather data
- Strategy videos for sets of math facts
- Small group activities with videos
All-in-one solution for school leaders
- SMART Goal Template & step by step guide
- District wide assessment with calibration videos
- Data wall template
- Month by month K-4 pacing guide
- Printable games for K-4 with video tutorials for students
- Strategy videos for sets of math facts
- Small group activities with videos
ADD ON: Virtual check-ins
Unlock your teaching potential with quarterly virtual check-ins where I can answer any questions and talk through processes. I even offer half or full day professional development sessions for those seeking to go the extra mile for their students.
ADD ON: In-person professional development
I’m ready to travel to you – in-person professional development is your ultimate asset for an improving math scores. Whether for a group or individual, my sessions will transform your PLC process, math strategies, and more.
PREMIUM Online REsourCes
Featured resources
Our most popular options for a variety of classroom needs.
Equivalent Fraction Practice: Using Visual Models, Number Lines & Equations
Get all of your students up to speed with equivalent fractions without tears, blank stares or needing to use tricks. These 10 thoughtful no prep puzzles to bring all of your lessons on equivalent fractions together, connecting all different representations!
Real World Sleepover Math Project for RTI, Enrichment or Early Finishers
Get your fast finisher or enrichment students what they need. Answer that dreaded question “What do I do when I’m done?” with this resource. This self paced real world math project is perfect for your RTI groups that need enrichment.
Reasoning Puzzles: Fractions on a Number Line, Equivalent Fractions & Comparing
In this no prep resource, students must reason about beginning fraction concepts: identifying fractions, equal parts, fractions on a number line, comparing fractions, equivalent fractions, benchmark fractions, numerators and denominators and fraction bars.
PREMIUM ONLINE RESOURCES
Shop the full store
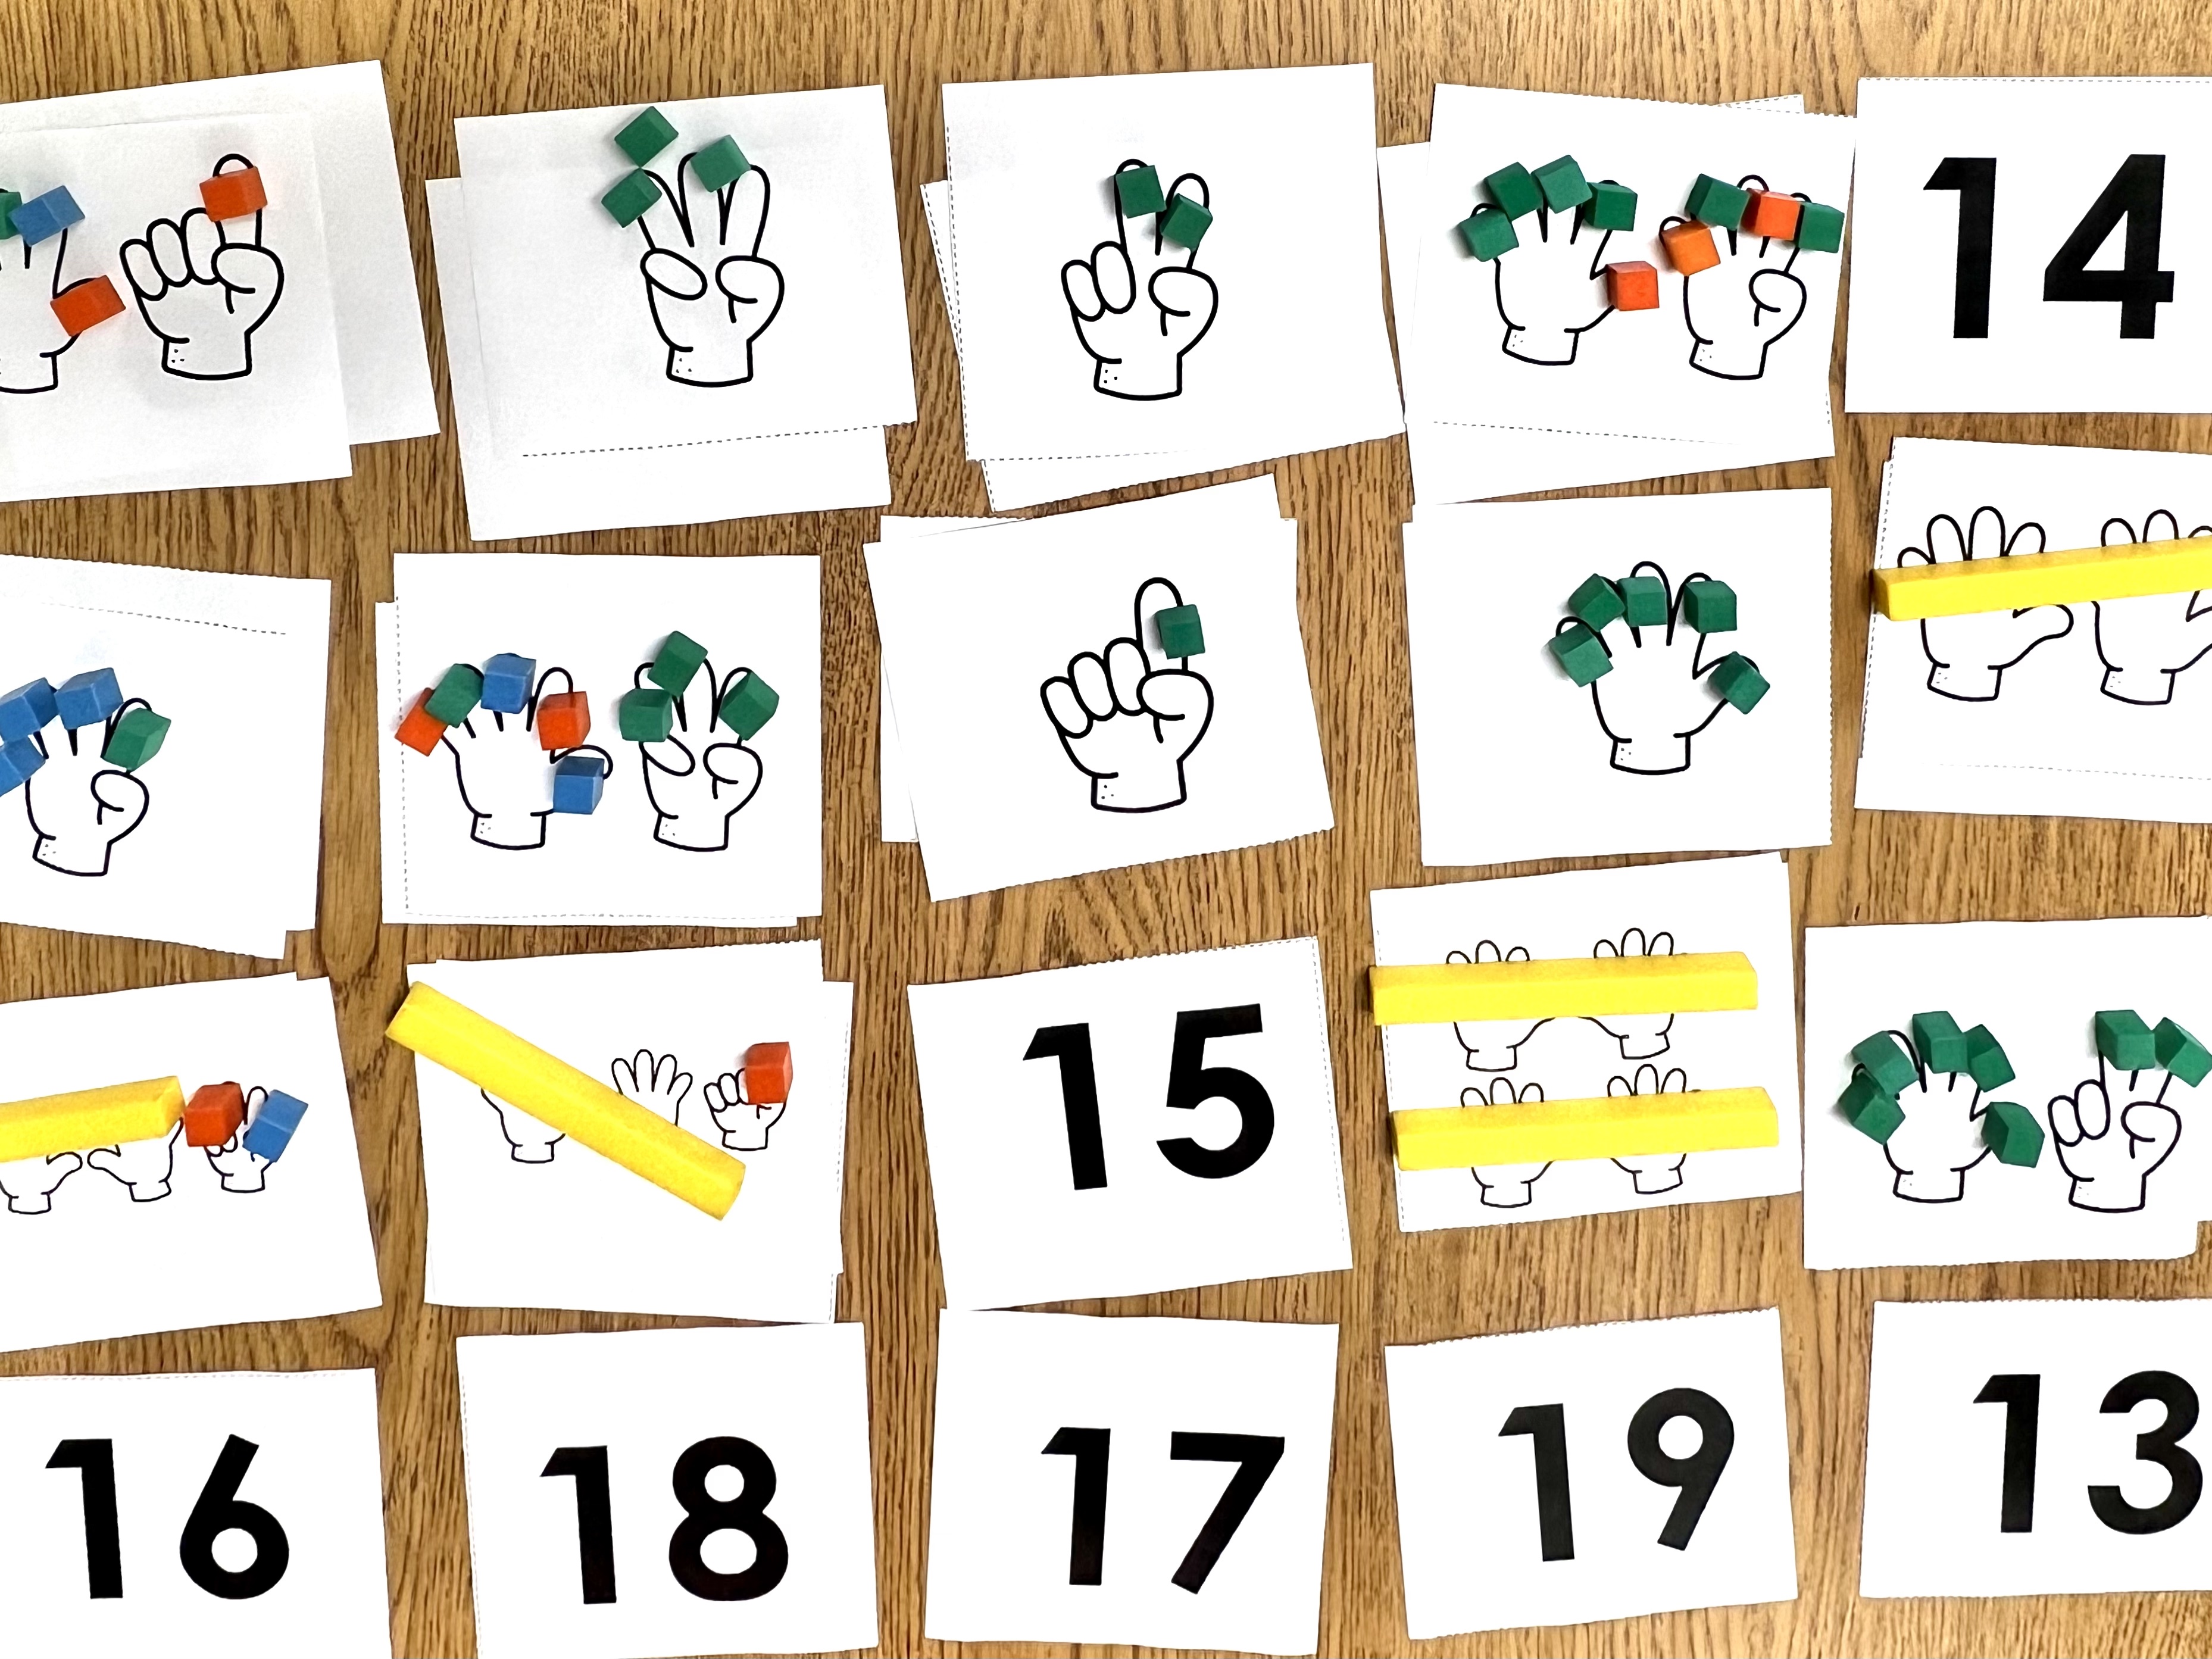
Beyond Traditional Math offers interactive digital math resources that enhance learning and build critical thinking skills, perfect for diverse classroom needs. My math lessons heavily focus on the Standards for Mathematical Practice. You’ll also notice the connection between the concrete, representation and abstract notation of mathematics!
What folks are saying about BEYOND TRADITIONAL MATH
Helpful and positive
“Continue bringing the positive energy….love sitting in these workshops and learning from you. Please continue to bring real life experiences and insights because they are extremely helpful.”
Kai
Engaging and exciting
“Jen has been amazing. Again the day went by fast, always engaging and I can leave with tools to implement now.”
Autumn
Lifechanging
“The connections to the classroom content were astonishing. The hands on was valuable and her presentation style kept me from checking my email. I loved working through the strategies, instead of just being told to teach strategies!”
Nate
FAQs
Why should I choose your Fact Fluency First program over others?
This fact fluency program is laid out so that you know exactly what is expected of students. It is targeted specifically to strategies that you can use immediately in your classroom. Paired with engaging games, your students will beg for fact fluency time in the classroom. Everything is laid out for you (strategies and tutorials for the games) by me personally.
Is this program hard to implement?
All you need is 10 minutes per day to implement the games and strategies. Sample schedules for how to incorporate this during your math block are included.
Do I need to buy a lot of extra materials for this program?
Most of what you need is included in the program. You will need simple things that most classroom teachers already have, two sided counters, pattern blocks and page protectors/lamination. These games are simple to implement, without alot of prep from the teacher.
Aren’t timed tests the best way to teach fact fluency?
Timed tests are only used for assessing automaticity, not fluency.
Fact fluency is SO difficult for me every year, will this really work?
If implemented as suggested, your students should gain great strategies, and if given time to practice, they WILL be successful.
Do you offer other services or products besides fact fluency?
Fact Fluency is a special passion of mine, and I’ve spent over a decade perfecting this program. However, I do offer other areas of professional development! I travel all over the United States delivering professional development in all areas of elementary mathematics.
Consultation
Ready to transform your classroom?
Schedule your free consultation and find out how Beyond Traditional Math can help you.
